Security
Server
While you are using ISO+™, the transmission of data between your device and our servers is protected using 256-bit TLS encryption.
ISO+™ uses DigitalOcean servers located in Australia, in data centres that are SOC 1 Type II, SOC 2 Type II and ISO 27001 certified.
We also regularly install security updates and patches to keep servers up to date.
ISO+™ also uses industry-leading Amazon Web Services (AWS) hosting infrastructure, which is Information Security Registered Assessors Program (IRAP) compliant, as the Security Standards in Australia.
ISO+™ Platform
ISO+™ is also ISO 27001:2022 certified, which means it meets the internationally recognised standards for establishing, implementing, maintaining, and continually improving an Information Security Management System (ISMS). This certification demonstrates our commitment to protecting sensitive data, managing security risks effectively, and ensuring the confidentiality, integrity, and availability of information across all our operations.

Backup
We do backups two times per day with the ability to retrieve your data in case something goes wrong from our side.
Unfortunately, we are not able to retrieve data in case of accidental deletion other than what is discussed in the Data Restore article.
However, if you believe there’s an issue that you didn’t cause, please get in touch with us via chat or email, and we’ll work on solving it together.
2-Factor Authentication (2FA)
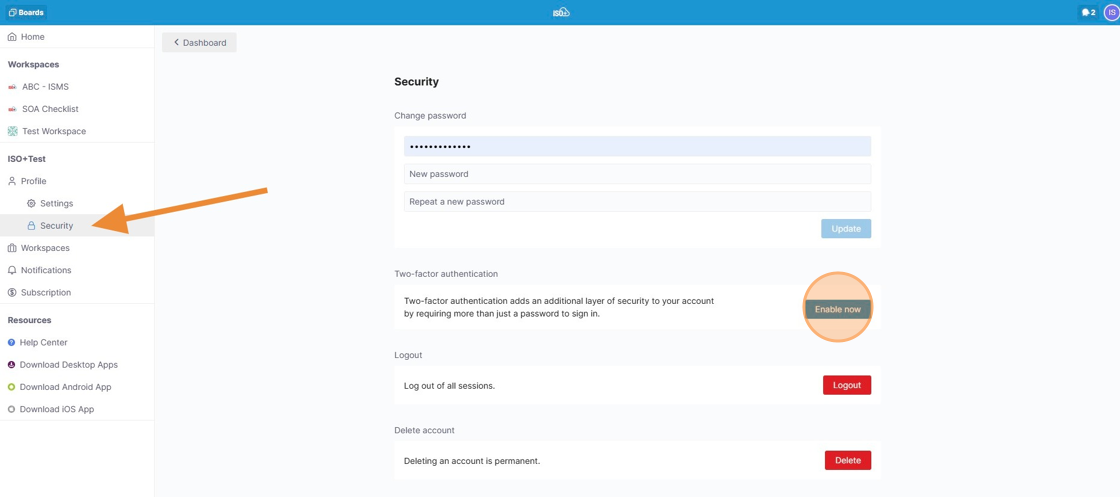
If you want to keep your ISO+™ data more secure, then we encourage you to enable 2FA (two-factor authentication) located in the ‘My Profile’ section of your ISO+™ dashboard.
Next, click on ‘Security’ in the left sidebar of your dashboard and then on the ‘Enable Now’ button in the 2FA field.
In the next window, you’ll need to confirm access to your account or re-authenticate by entering your password.
Once your password is confirmed, you’ll have 30 minutes to enable 2FA before being asked to authenticate your account once again.
This re-authentication process is important because it prevents someone else from activating 2FA in your place.
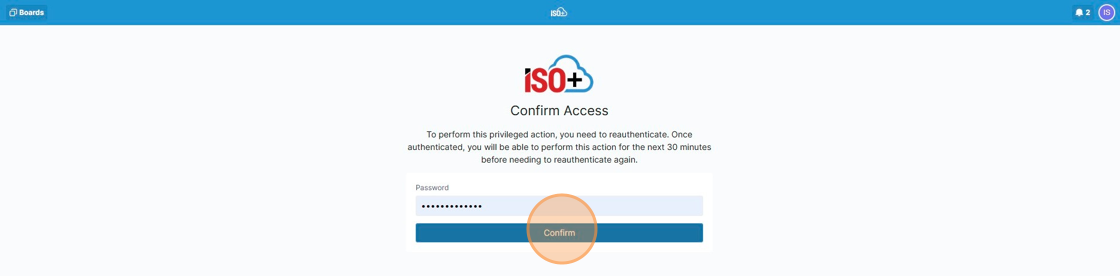
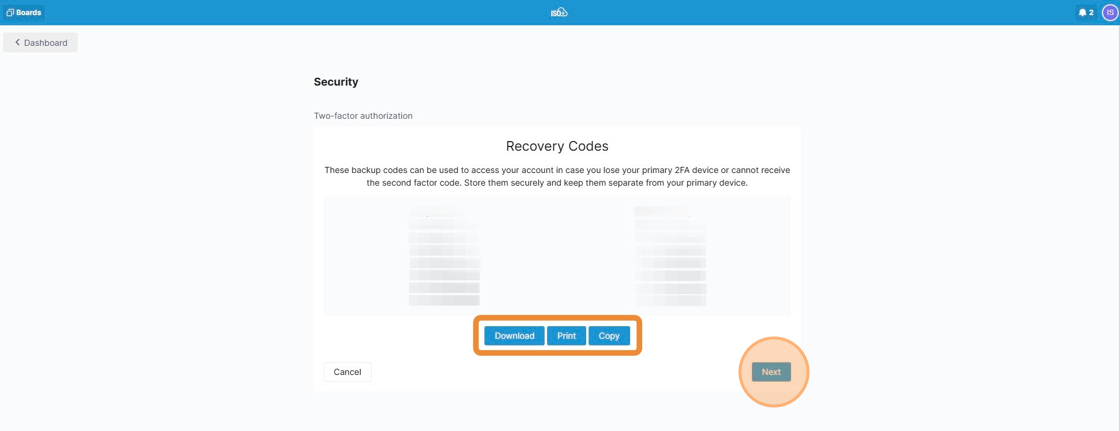
Once you click on the ‘Confirm’ button, you’ll get a list of recovery codes that are used in case you lose your primary 2FA device or cannot receive a second-factor authentication code.
You can download, print, or copy them to another device of your choice. Keep them secure, and make sure to save them on any device other than your primary one because this will help you restore your account in case of emergency.
In the next step, you’ll need to scan the QR code on your screen either with your phone or by using a Chrome extension.
Most phones come with a built-in QR code scanner nowadays, but just in case yours doesn’t, you can download one of the many apps available on Google. You can also use the Authenticator Chrome extension on your computer.
Once the QR code is scanned, you will get a 6-digit number that you’ll enter in the corresponding field. If you are unable to scan, you can click the 'enter this secret' link.
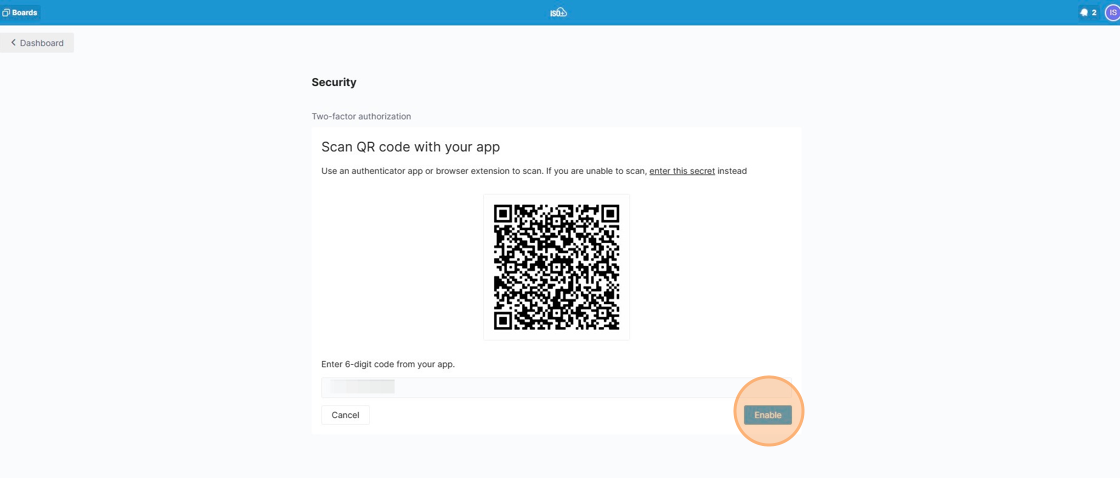
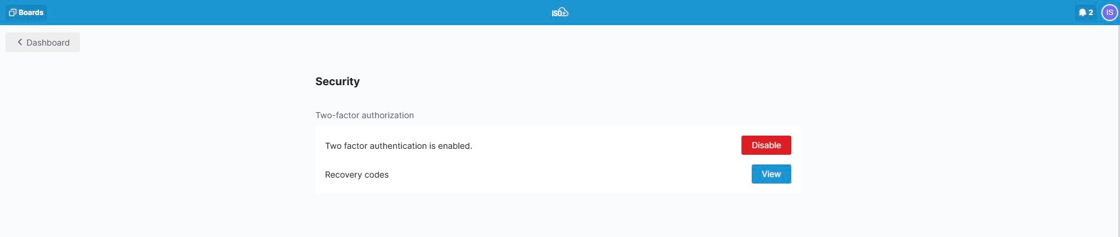
The last step is to click on the ‘Enable’ button. In the last window, you’ll have two options: either two disable 2FA or view your recovery codes once again.
You’ll also receive an email with the link to your recovery codes.