Native Integrations
Google Drive
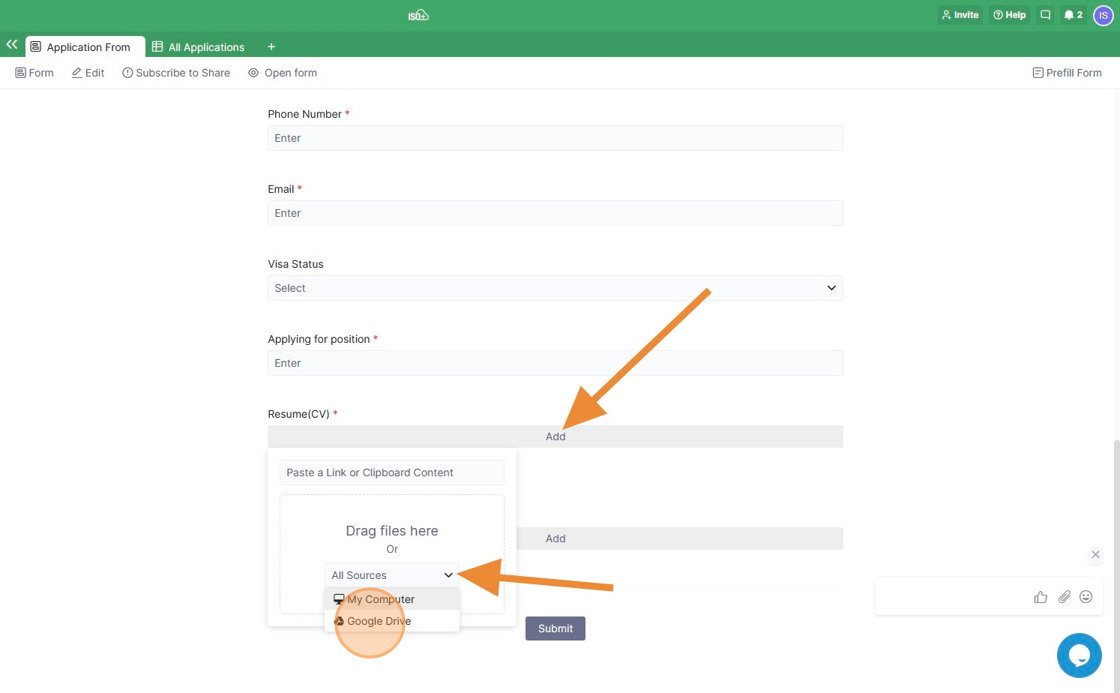
In ISO+™, it's possible to upload important files and documents straight from your Google Drive into a board of your choice.
Let's go through the steps of connecting your ISO+™ account to your Google Drive.
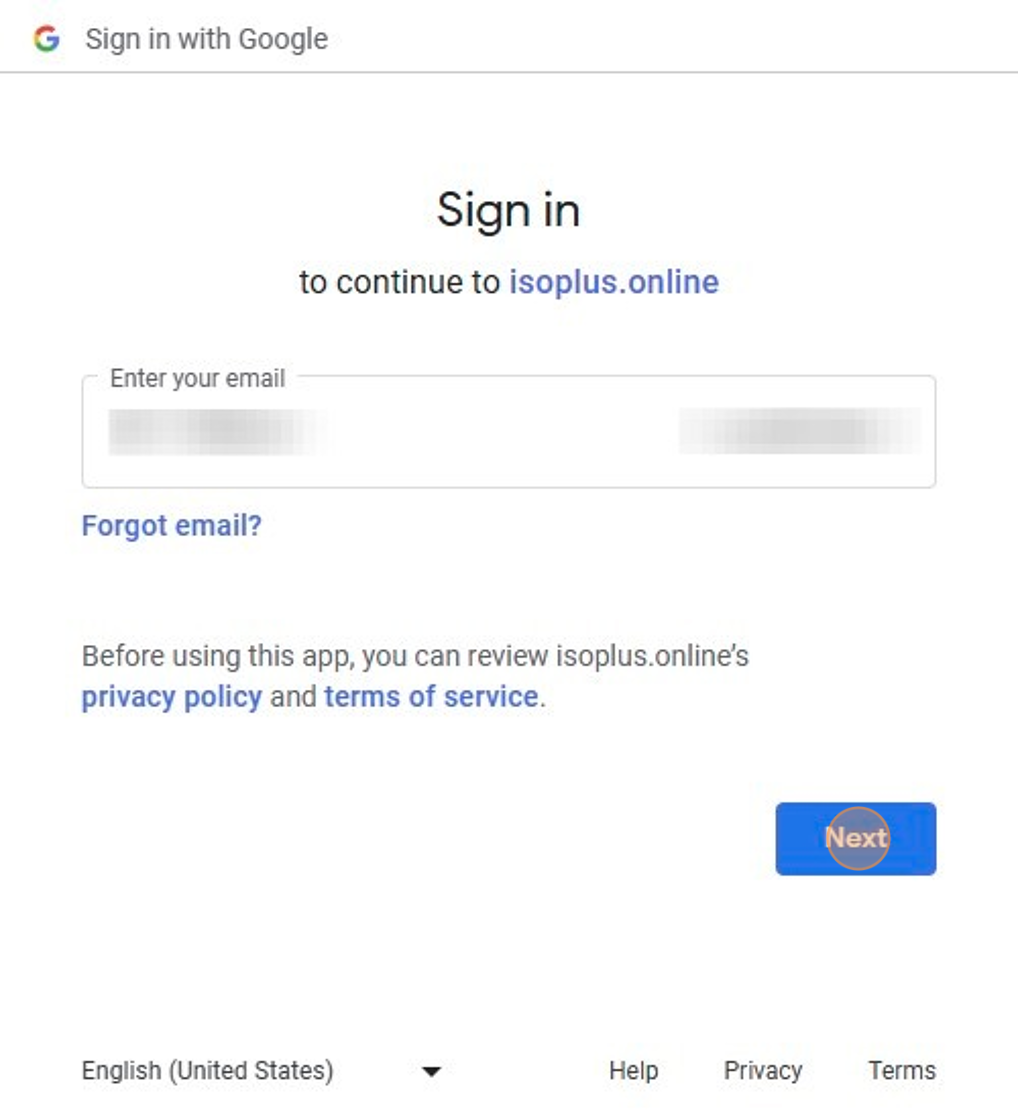
You'll be taken to a new window, where you'll need to select a Google account you want to connect to ISO+™.
Once you give the necessary permission, you'll be taken back to your board.
In the pop-up window that opens, you’ll get to select which files you want to upload from your Drive to ISO+™.
In case you decide to upload files later, you'll be able to click on the Attachments attribute at any time and then add documents through the 'Choose Files' option.
Select the file you want to upload, and you're done!
Google Calendar
With your Google Calendar integration, you will be able to connect any ISO+™ calendar with the Google Calendar of your choice. If you enable your Google Calendar to show holidays, they are displayed in your ISO+™ calendar under "Google to ISO+™ Sync" or "Two-way Sync".
Below, you will find the exact steps on how you can achieve this.
In order to sync your data from ISO+™ to Google Calendar and vice versa, you will need to use the Calendar view inside ISO+™.
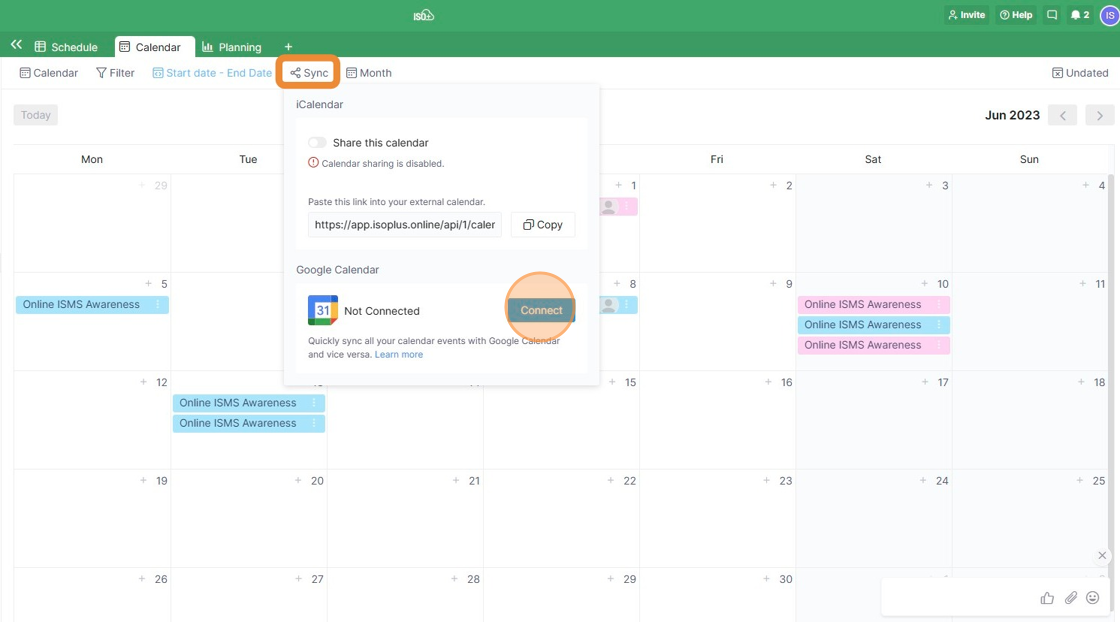
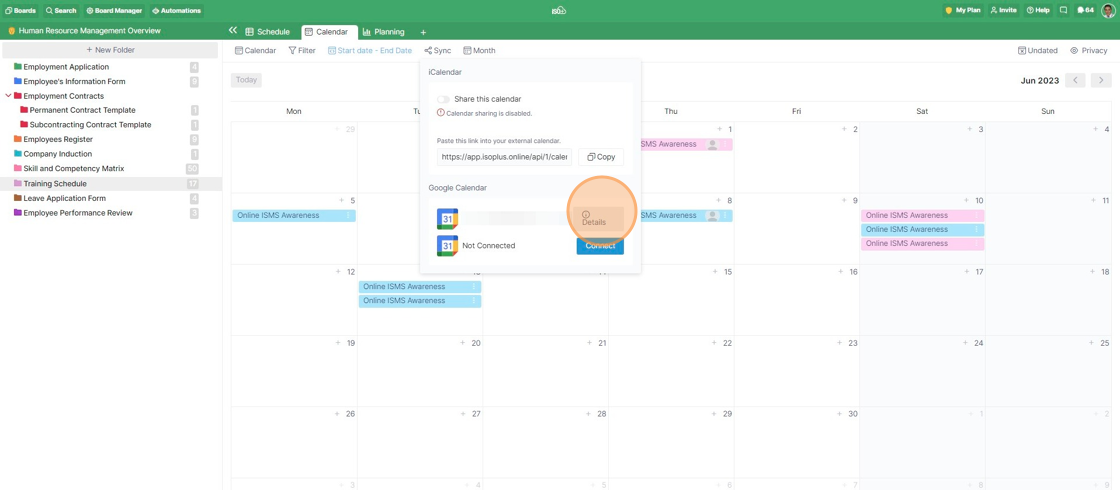
To start the syncing process, you will need to click the ‘Sync’ option above your ISO+™ calendar.
You will then see a modal with options for iCalendar and Google Calendar. In the Google Calendar section, click ‘Connect’.
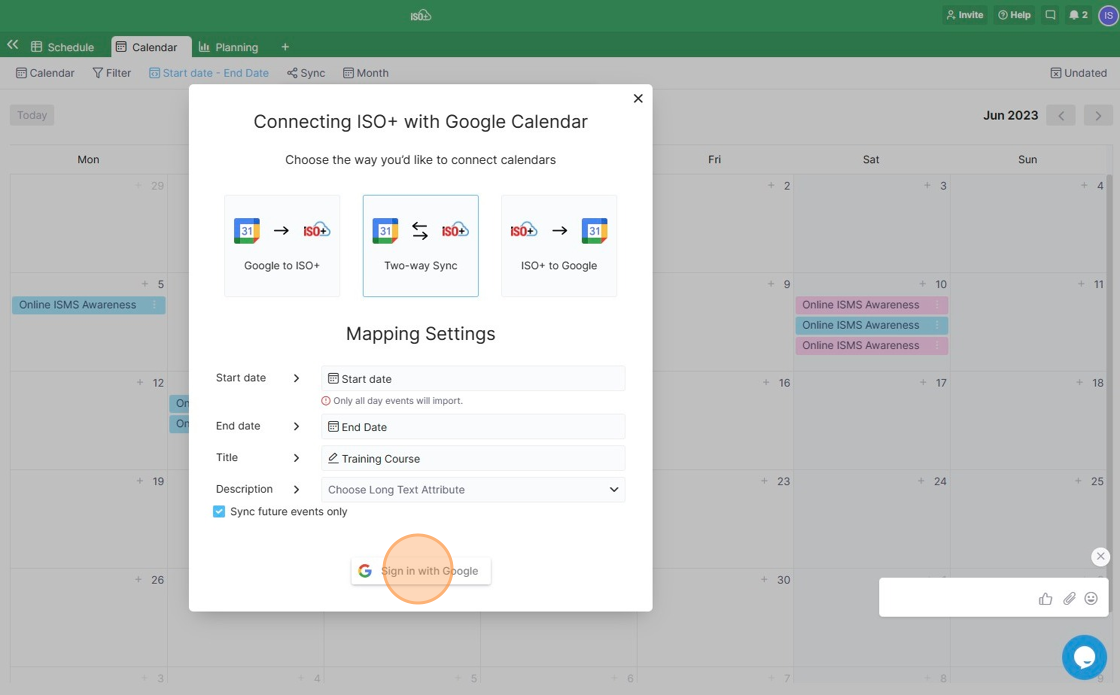
In the new popup that appears, you will be presented with three options for syncing and mapping settings.
The process of setting up the integration is the same for all three options, but the difference is in how they work.
Google to ISO+™ Sync will allow you to sync data from your Google Calendar to ISO+™ automatically. If you set this integration up, when you add a new event (or edit an existing one) in your Google Calendar, the changes will apply to your ISO+™ calendar automatically.
As its name suggests, Two-way Sync will allow you to synchronise your ISO+™ calendar with your Google Calendar in both directions. If you make some changes to your ISO+™ calendar, they will apply to your Google Calendar, and if you make some changes to your Google Calendar, they will apply to your ISO+™ calendar.
Finally, if you choose ISO+™ to Google Sync, the changes you make in your ISO+™ calendar, whether that’s adding a new item or editing an existing event, will apply to your Google Calendar as well.
📌 NOTE: Keep in mind that changing a filter in your ISO+™ calendar will not be automatically applied to your Google Calendar. If you decide to do so, you will need to disconnect your integration and set it up again (which will only take a few clicks).
Once you have chosen one of the three options for syncing, you will be able to see the mapping settings below and edit some of them.
Start Date, End Date and Title of your events will be mapped automatically, taking the existing dates you have in your calendar and the primary attribute as the title.
When it comes to the Description, you will be able to choose whether you want to map it and also choose which Long Text field you want as the description (if you have more than one).
Also, you will be able to decide whether you want to sync only future events, which will be selected by default or if you want to sync even the events from the past, in which case you will need to ‘uncheck’ the checkbox on the left.
In both cases, keep in mind that the limit for events that can be synced during the initial import is 3000.
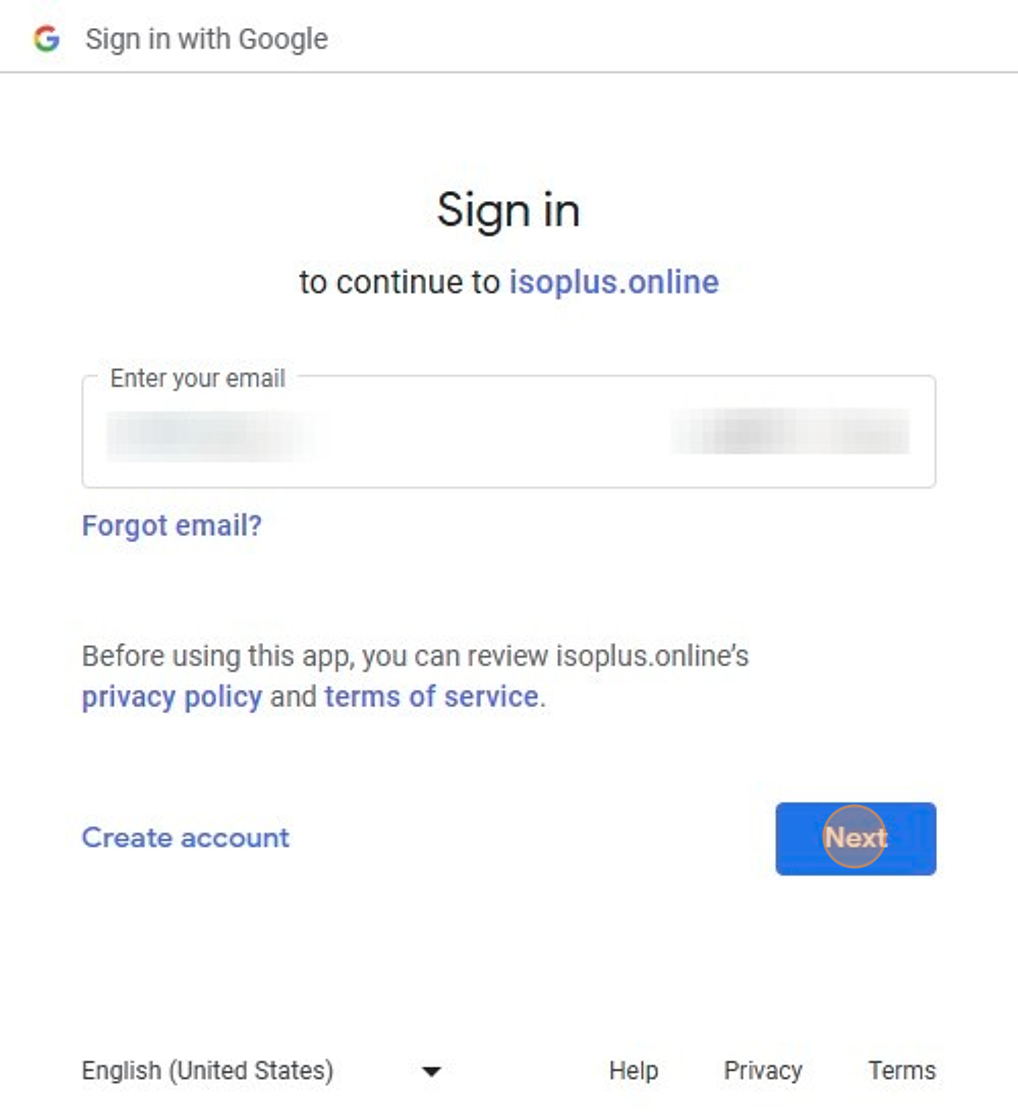
After that, you can click ‘Sign in with Google’.
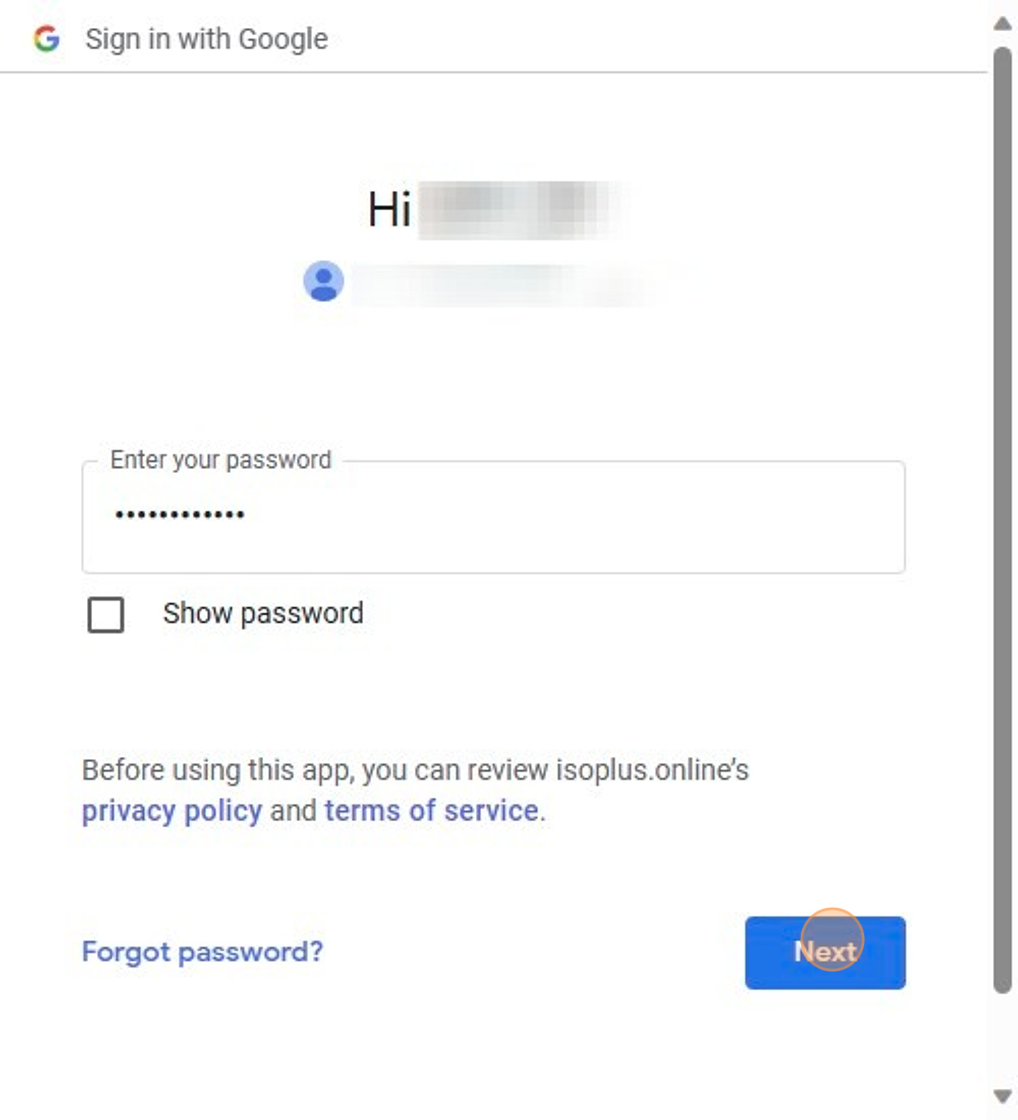
A new window will appear, where you will need to choose a Google account that you will be connecting to ISO+™ and log into that account.
After you do, you will need to authorise ISO+™ to access your Google account by clicking ‘Allow’.
In the next modal, you will need to choose the calendar to connect, whether it’s your primary calendar or any other calendar you have under your Google account.
Your calendars are now connected!
📌 NOTE: The changes you make can take up to a minute to reflect in the other calendar, but in most cases, they will be almost instantaneous.
If needed, you will be able to connect multiple Google Calendars to your ISO+™ calendar. When you click on ‘Sync’ again, you will be able to set up new connections or disconnect all current integrations that have been set up.
If you wish to review or disconnect your current connection, click on the ‘Details’ area of your current connection, and a new modal will open.
This modal will let you review all the details of this connection, and at the bottom, you will see a ‘Disconnect’ button.
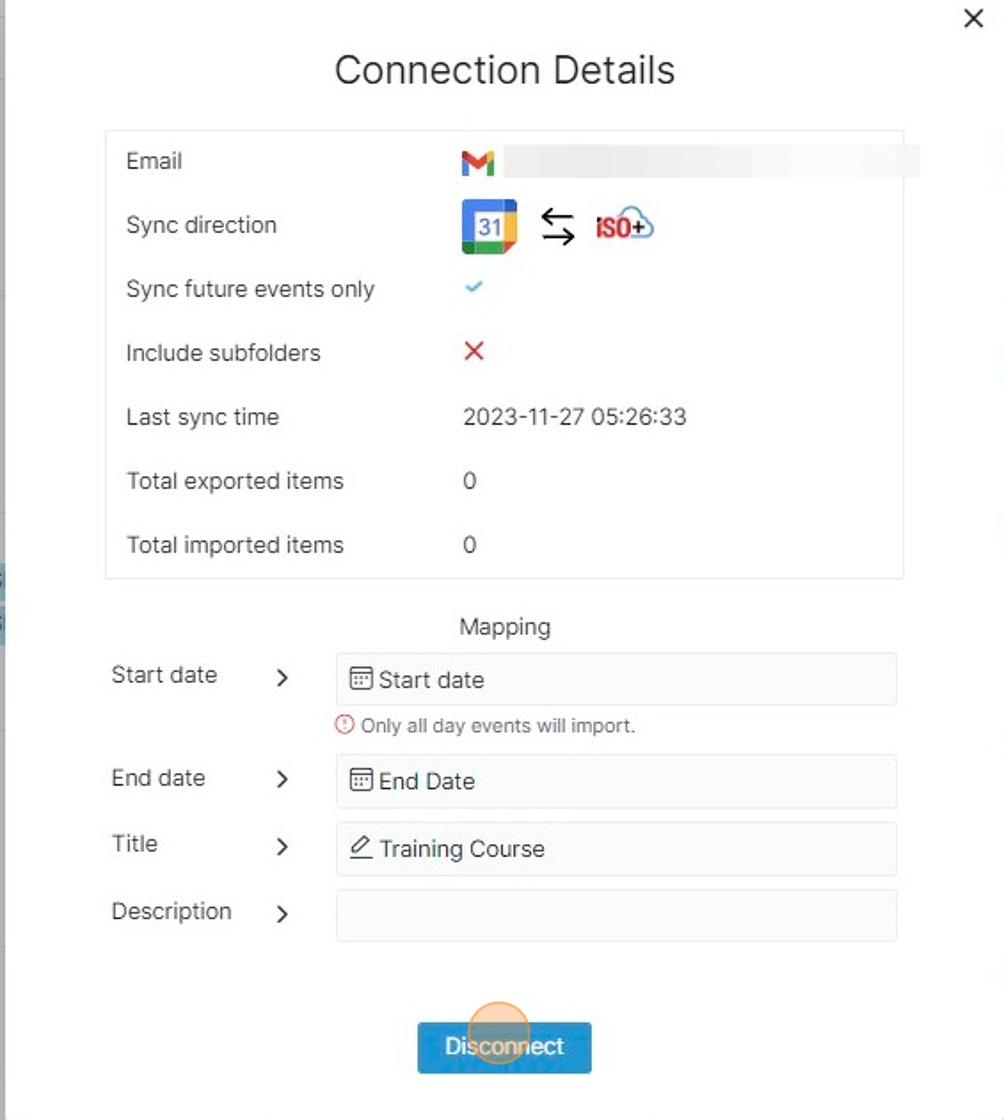
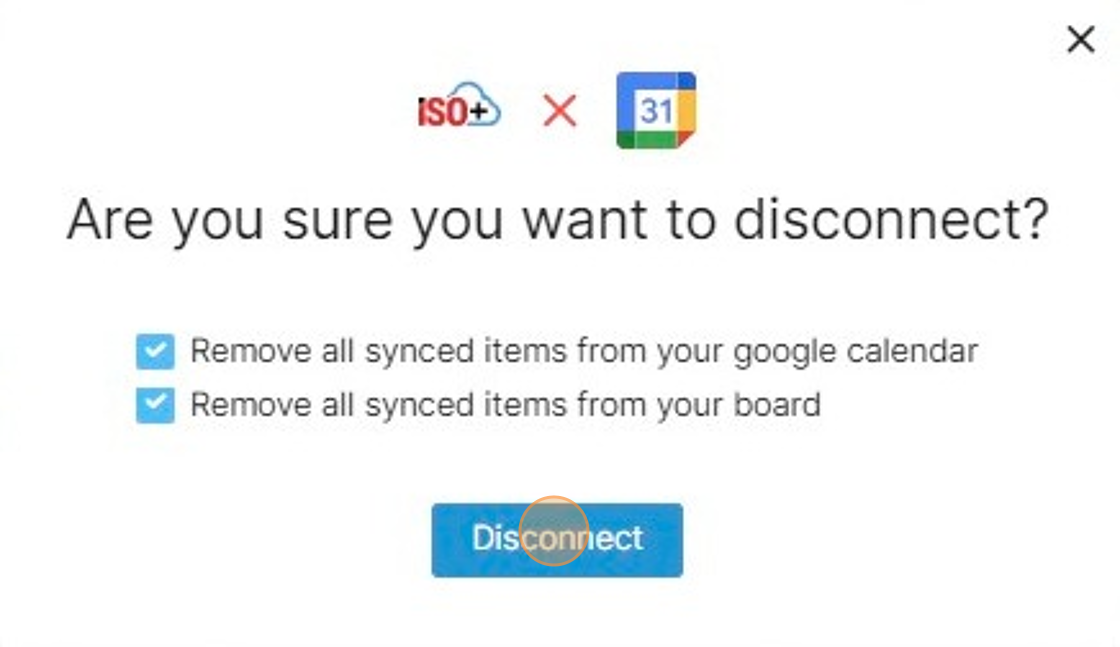
If you click on ‘Disconnect’, you will be prompted with a confirmation popup. Here, you will be able to choose whether to disconnect and keep all the items created as a result of the integration or if you want to remove them.
iCalendar
When using the Calendar view in ISO+™, you’ll also get the option to use iCalendar, i.e. to sync your ISO+™ calendar with any other calendar software you’re using. Showing the Holidays explained in the Google Calendar section above also applies to the other calendars listed below.
Here is a list of applications that support iCalendar:
- macOS Calendar
- iOS Calendar
- Facebook Events
- Google Calendar
- Microsoft Exchange Server
- Microsoft Works Calendar
- Windows Calendar
- Windows Live Calendar
- BlackBerry Calendar
- Palm, Inc. Calendar
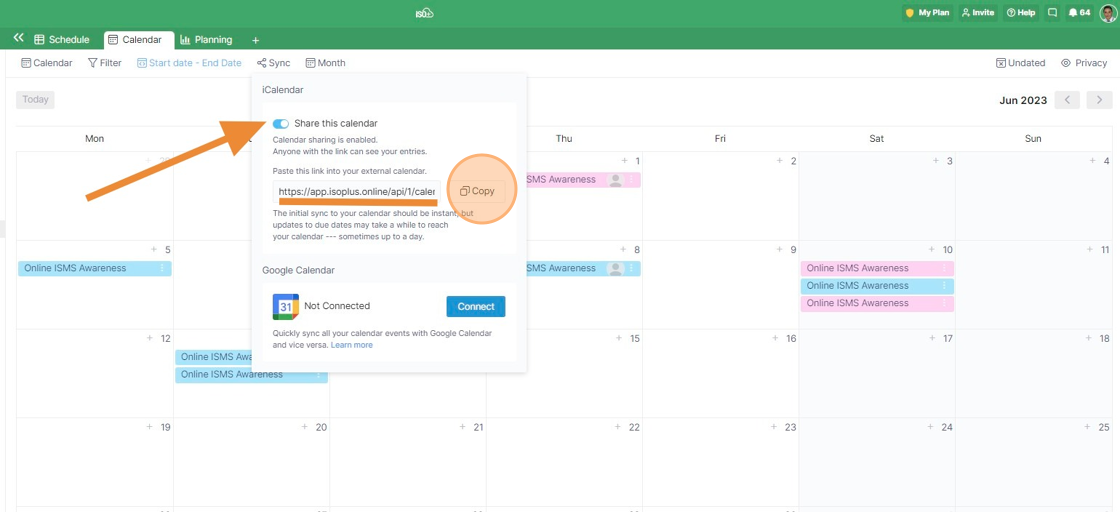
To get your iCal link from ISO+™,
1. head over to any calendar you have in your ISO+™ workspace
2. click on the Sync button next to your dates.
3. Toggle on "Share this calendar" and then copy the link.
Next, head over to your calendar of choice. For example, for macOS, you'll add the link by using the 'New Calendar Subscription' option, or for Google Calendar, you'll add the link by using the 'Other Calendars>Add Other Calendars' option.
Once the calendar is synced, you should be able to see all the items from ISO+™ on it.
📌 NOTE: Keep in mind that it might take some time (up to a day) for the calendars to sync. This will largely depend on the calendar software you’re using.
📌 NOTE: If the items in your ISO+™ calendar have been filtered out, you’ll only see the filtered version in another calendar.
Xero
To integrate your ISO+™ account with Xero, you can set it up on the ISO+™ Portal.