Items
Subitems
📌 NOTE: Depending on your role and permission level, some of the following features might not be available for your account.
Items are the fundamental units of ISO+™. Depending on the nature of the folder, items can be anything you want them to be. They can be tasks, documents, information, people, events, files, leads and literally anything else you need for your work.
The best part about items is that you can customise them in a wide variety of ways. You can apply different filters to them, assign team members, add links or attachments, mark the items as complete/incomplete and do a lot more that can be essential for highly effective project management.
Create a New Item
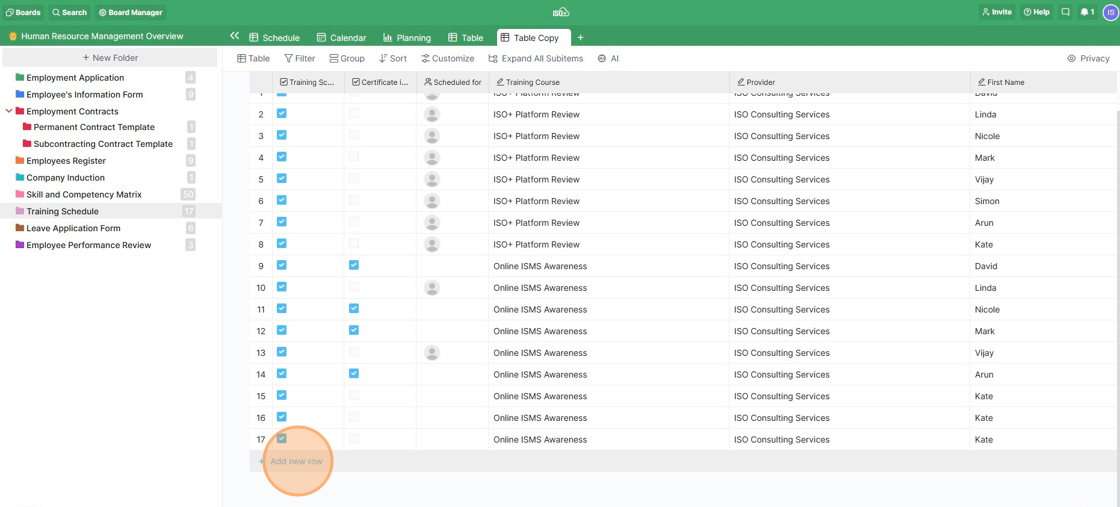
Also, you can add a new item between the existing items by clicking the small plus sign between the two items.
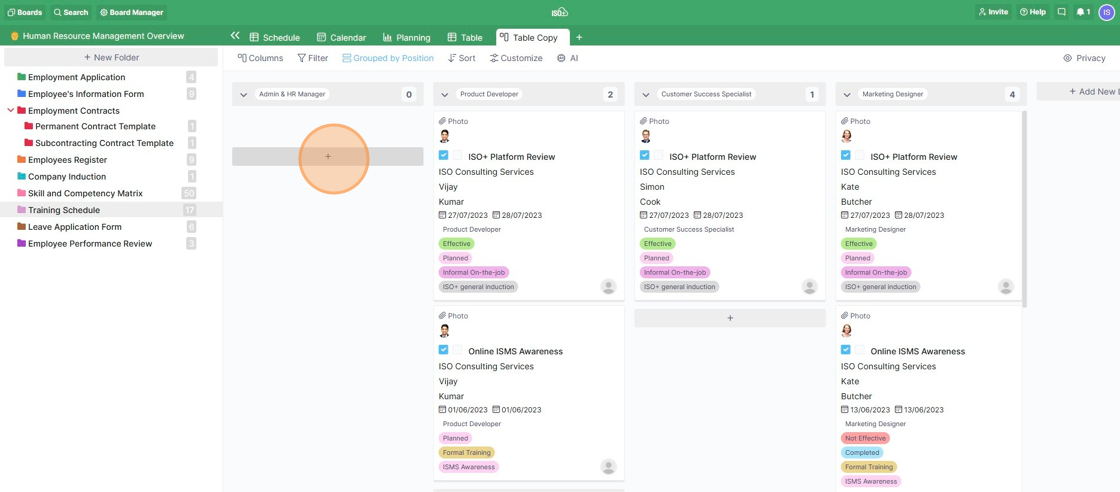
In the Columns view, you will add a new item by clicking the button at the bottom of each column.
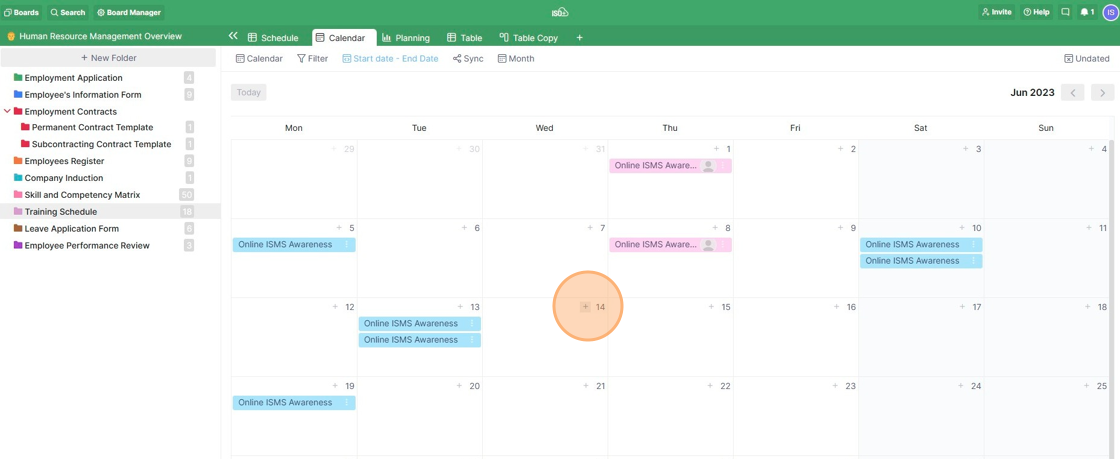
In the Calendar view, you will add an item by clicking the plus sign you'll find in each calendar cell.
s
Opening Items: Modal or Sidebar
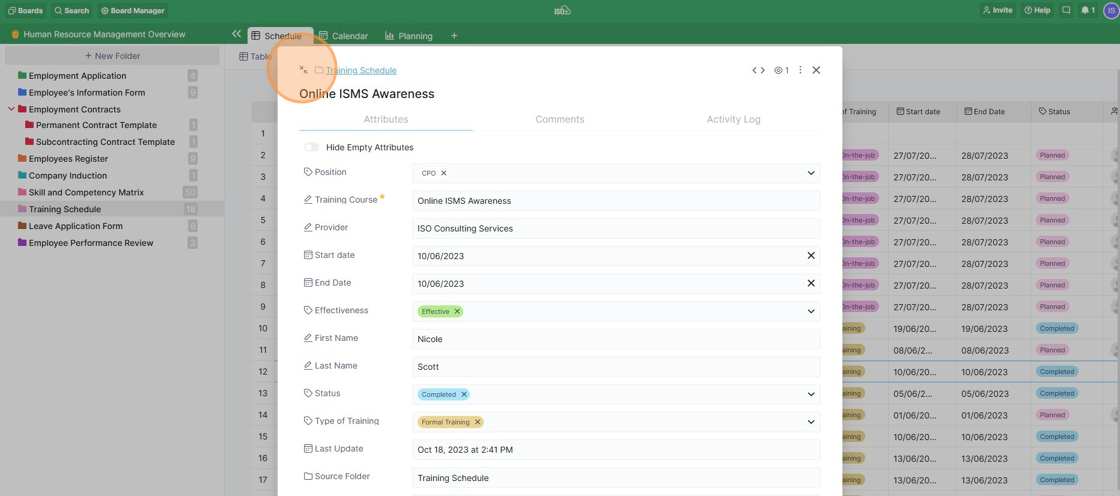
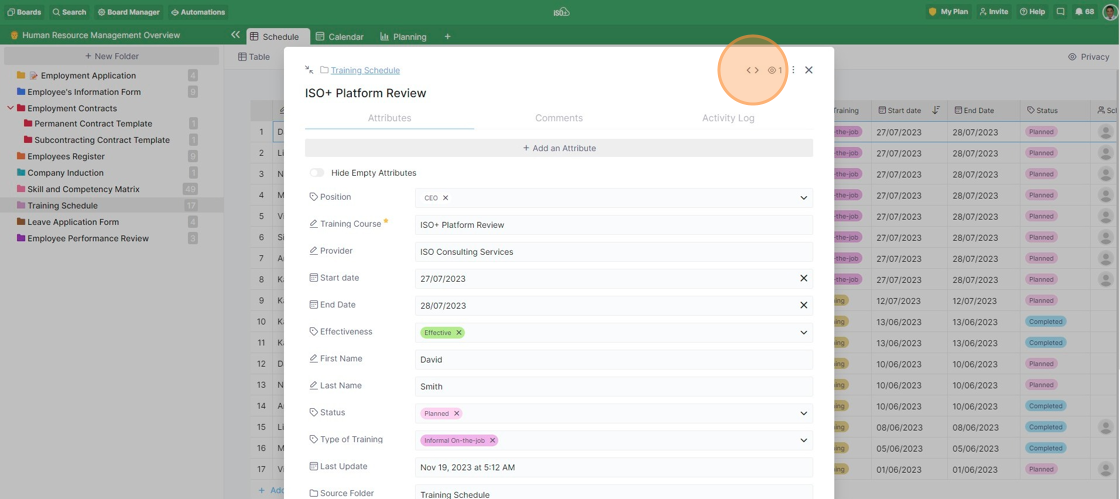
When you create your items, you'll be able to decide whether you want to customise them in a pop-up modal or a sidebar that opens to your right.
As you do that, the pop-up modal will appear on your screen. You can switch between these two modes seamlessly, whenever you want, by clicking on the small arrows in the upper left corner of your item.
The modal is a great choice for anyone who wants to focus on working on one item uninterrupted, while the sidebar is great for people who want to work on an item while still having an overview of the other items in front of them.
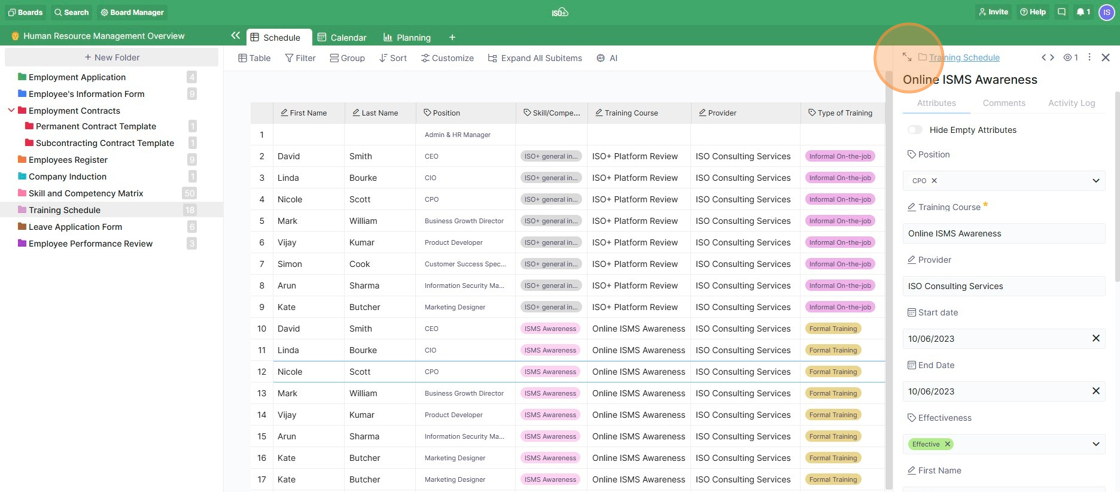
You can easily expand your sidebar by hovering over the left border and then dragging it to your left. You can return it to the original size.
v
Navigate an Item
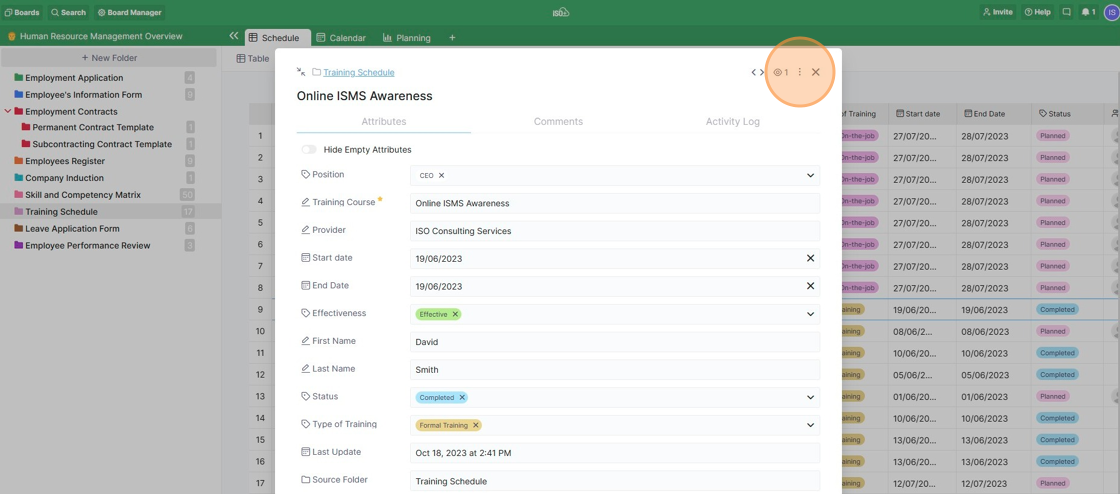
You can see the details of a certain item or customise it using the modal or sidebar, as we mentioned above.
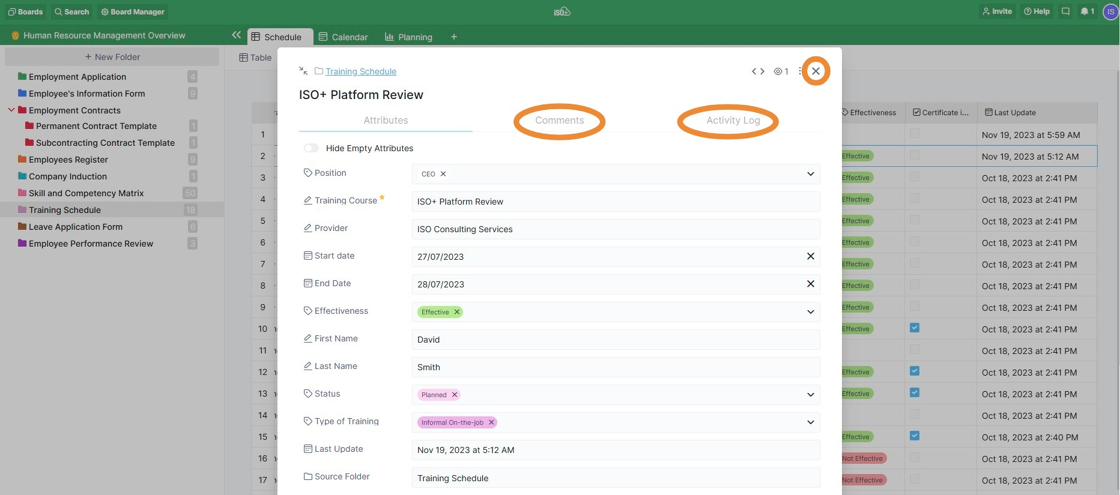
In your modal/sidebar, you'll also notice the sections Comments and Activity Log, which are meant to help you collaborate with your team in a better, hassle-free way.
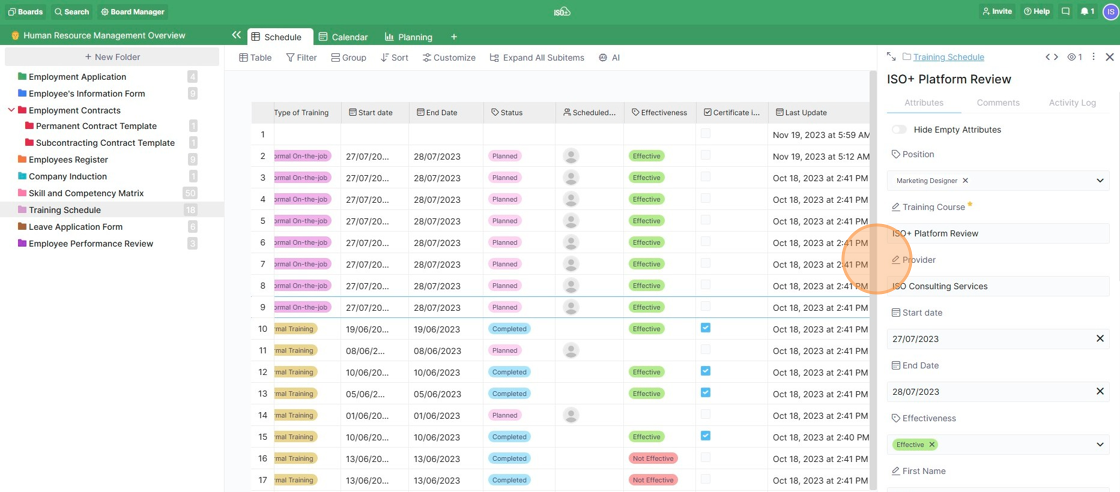
You can also move back and forth between the items by using the <> symbol.
To exit the sidebar/modal, press the X symbol at the top right corner.
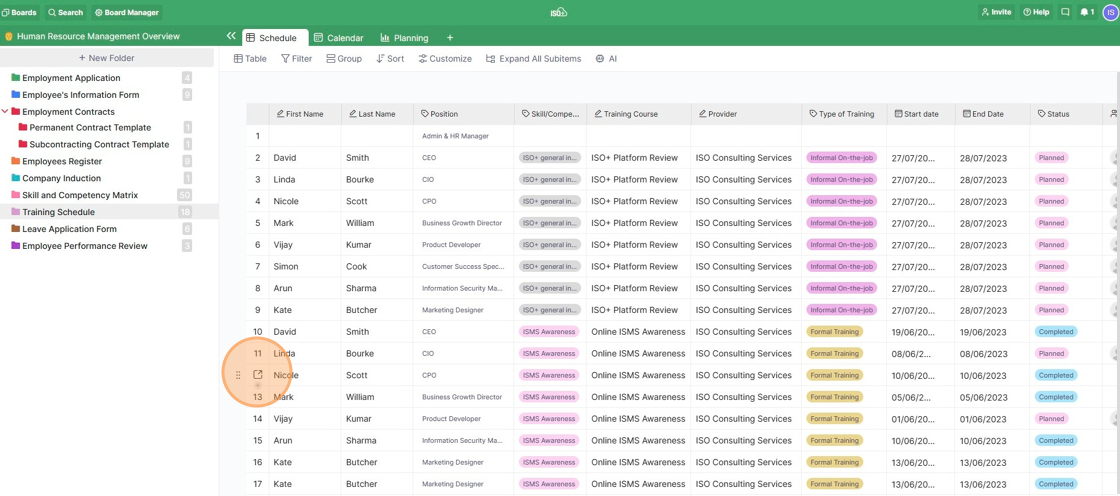
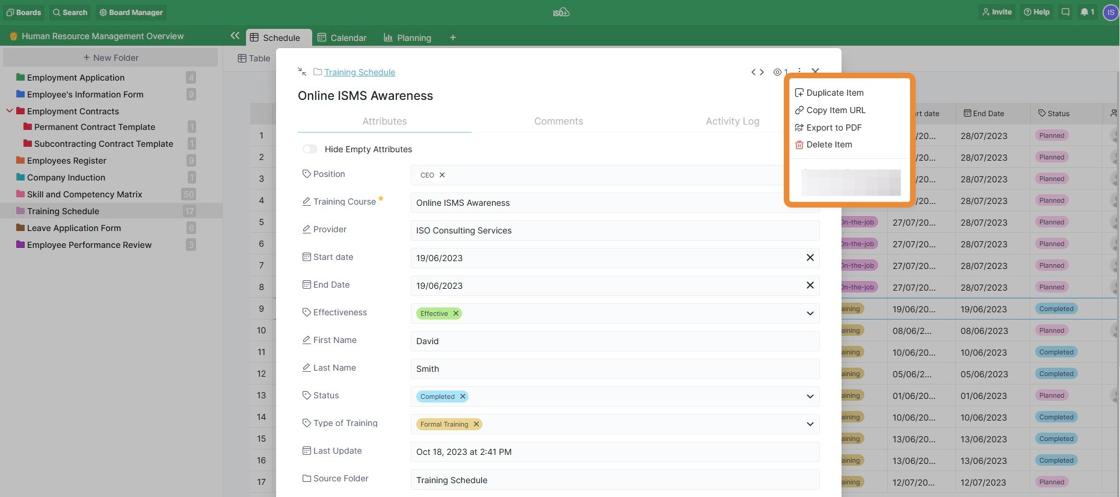
By clicking the three dots in the right corner of your item, you will see a few other options.
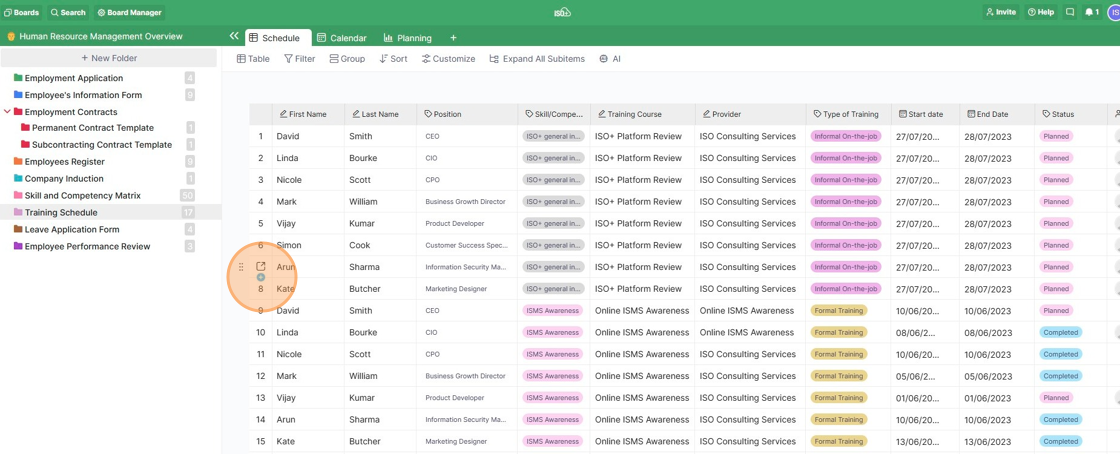
You can have a few more options, such as 'Add new subitem', by clicking the six dots on the left side of your item in a Table view.
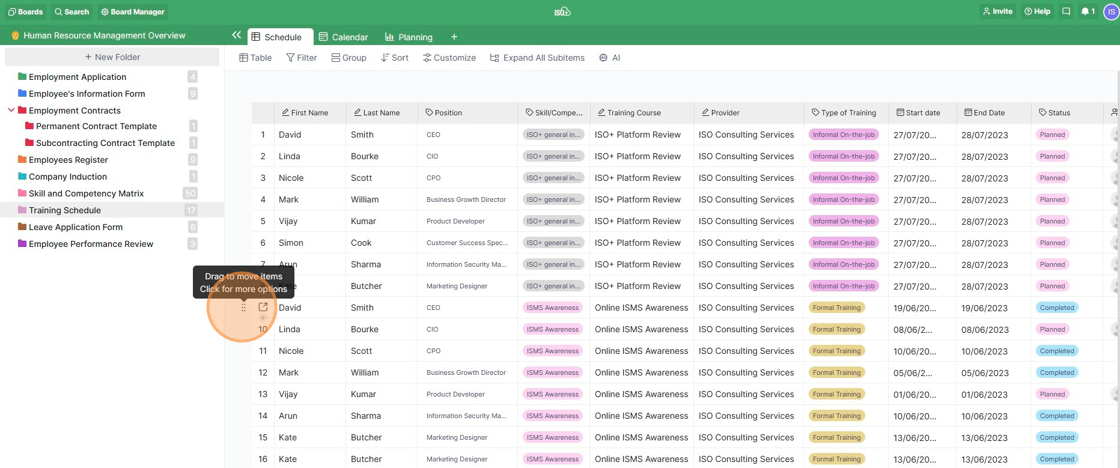
As shown above, you can use this feature for dragging and dropping the item to reorder the items. The drag-and-drop feature for the items is applicable in other views as well.
You can also use the drag-and-drop feature to move the items from one folder to another listed on the left sidebar.
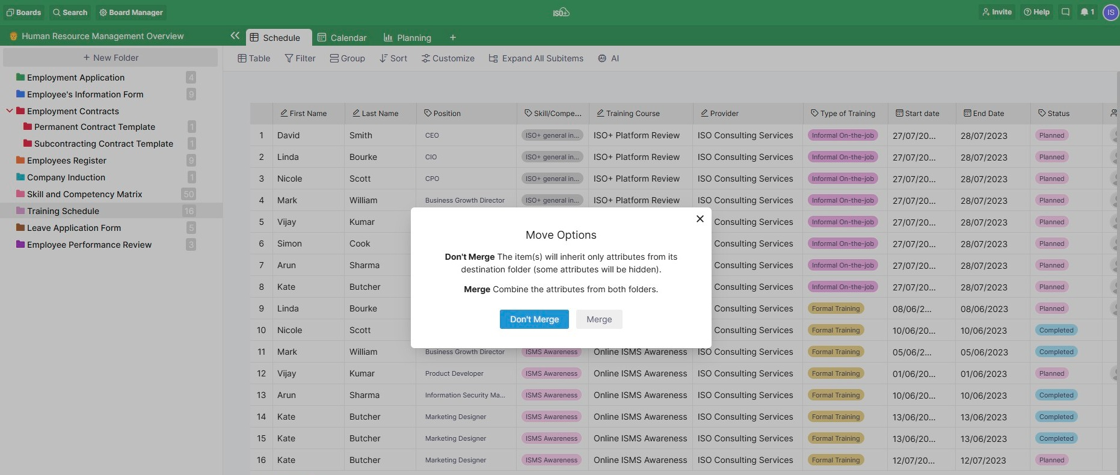
When moving items between folders, you'll be asked if you want to move them or move and merge them. If you decide to move your items, they will keep only the attributes from their destination folder. Other attributes will be hidden. If you decide to move and merge your items, they will combine attributes from both the new and their destination folder.
You can use multiple selections to move more items to another folder, as shown in the next section.
S
Using Multiple Select on Your Items
To use multiple selections on your items, hold CTRL (Windows users) or CMD (Mac users), and then click on the items you want to move or delete.
If you don't want to select items one by one but rather more of them at the same time, hold SHIFT and then click on the items you require.
You can even combine SHIFT with CTRL or CMD in order to first select a larger number of items and then only items one by one.
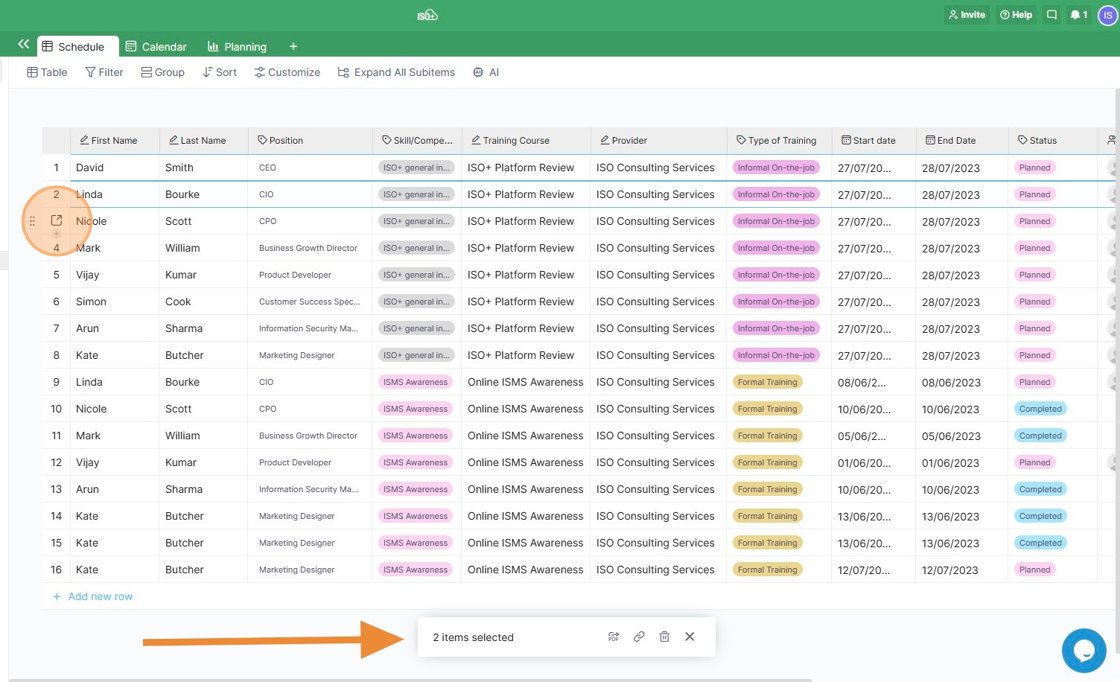
When you select your items, you'll notice a small box at the bottom of your screen (see the image below). Here, you'll see three options you can use: from left to right, export to PDF, copy item URLs and delete items.
Clicking on either of them will perform that specific action. If you want to move your items, drag and drop them to another folder or another group of items.
To deselect all your items, either press ESC or click on the small X in the pop-up at the bottom of the screen.
If you want to deselect a specific item, hold CTRL or CMD and then click on that item.
m
Subitems
Subitems will help you break your work into smaller sections or subclassify your database records. Subitems will contain all the same fields as your items in that particular folder, but they will be embedded within the parent item.
This means that you can use subitems to divide work on a single item among multiple people, and each subitem can have its own dates (start date, due date, etc.), labels, etc. This is a great feature in project management.
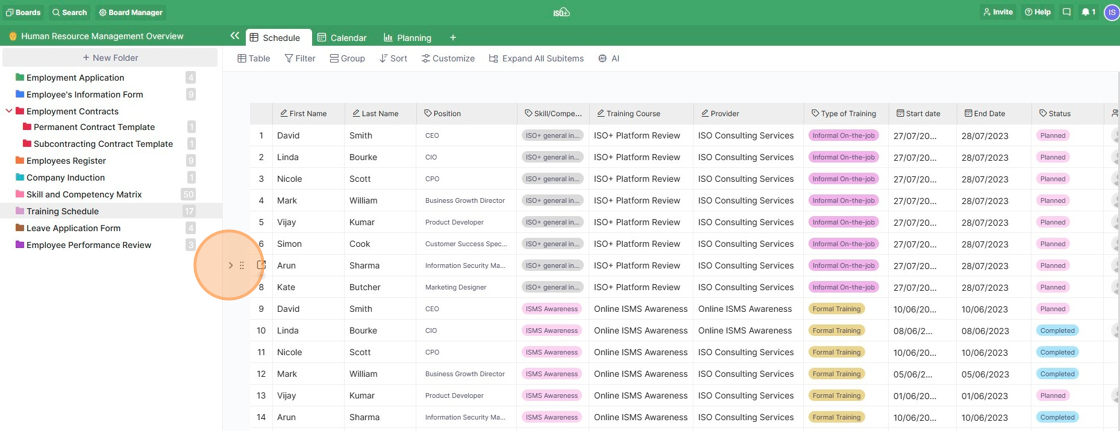
You will be able to create subitems in two ways. As shown above, If you are in the Table or List view and you hover over the far left side of your item, you will see the six dots symbol, which you can use to open the options related to that item. When you click it, you will see that one of the options is ‘Add new subitem’.
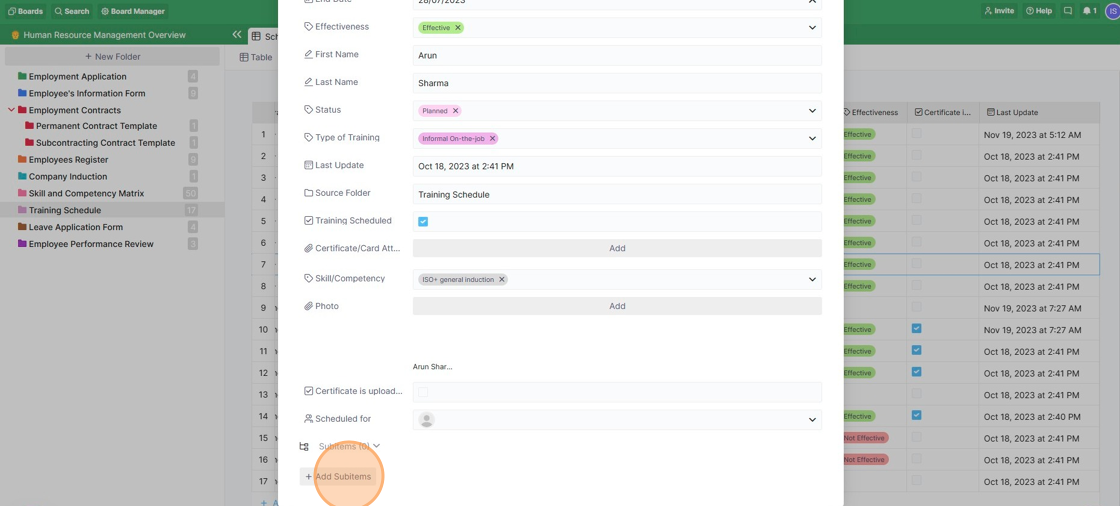
The second way is when you expand any item, at the very bottom of the Modal or Sidebar, you will be able to see the option to ‘+Add Subitems’. Once you click there, you will be able to easily add new subitems one below another by giving them a title and hitting Enter.
In different views, subitems will be displayed differently. All items that have subitems will show with a small arrow sign on the left side. Once clicked, the subitems will be displayed. The same arrow sign can be used to collapse subitems anytime.
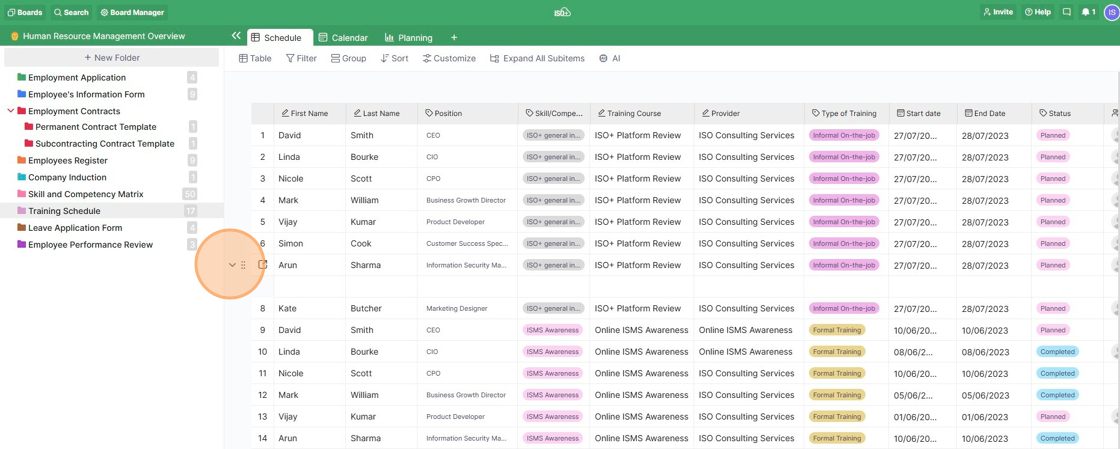
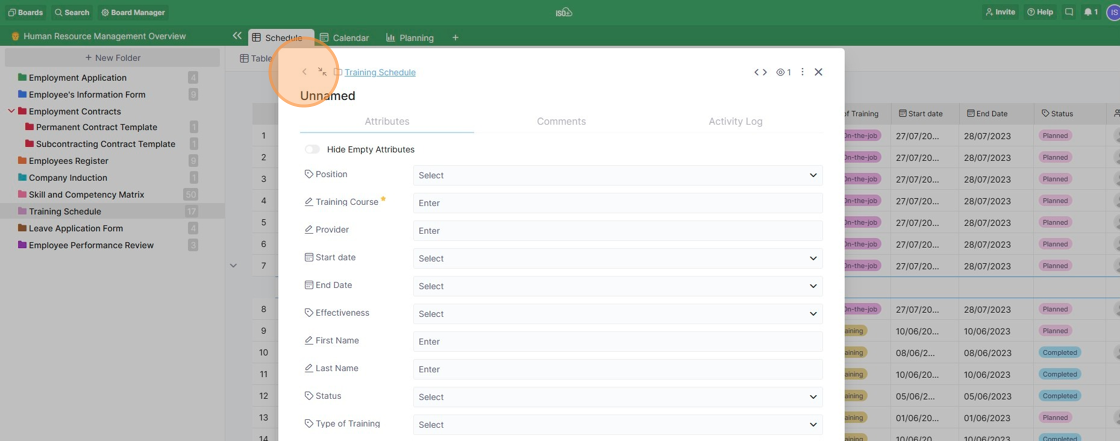
As shown above, the subitem is created as a blank item that needs contents for its attributes. Once you click on a subitem, it will open just like a regular item, and you can fill out the attributes.
To go back to the parent item, you will be able to click a small arrow icon at the top of your subitem.
In the Gantt view, subitems will be displayed by default, provided they have the start dates and end dates that have been set for the Gantt chart. If your Gantt is grouped, moving a parent item from one group/section to another will also move the subitems.
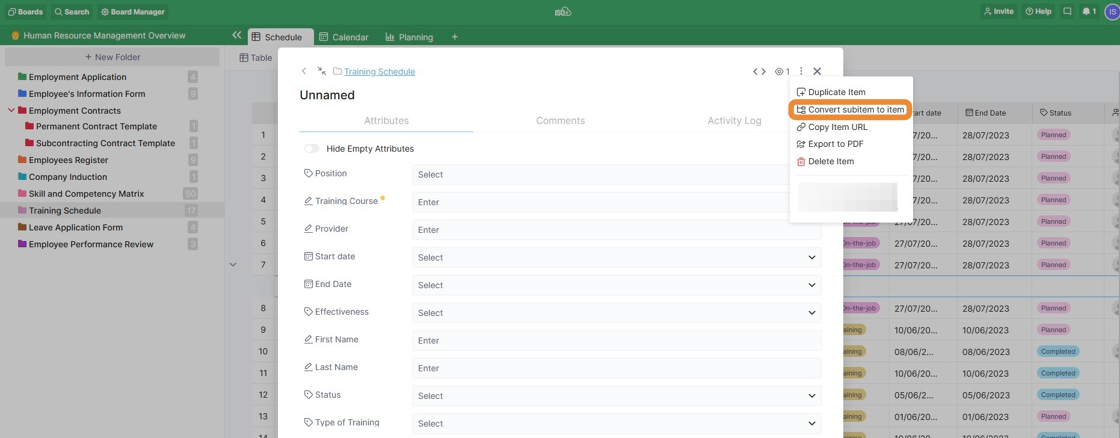
In views where you can see expanded subitems - Table, List, Gantt - you will be able to interact with them just as you would with items. The three dots on them will open options you have on items, with one additional option, ‘Convert subitem to item’.
Another way to convert your subitems to items is by simply dragging and dropping a subitem in the Table view and List view somewhere between your existing items.
Similarly, you can convert an item to a subitem by dragging and dropping it in the Table view and List view somewhere between your existing subitems.
You can delete a subitem from the expanded parent item or directly from the view, as we mentioned above.
If you delete a parent folder, subitems belonging to it will be deleted as well. However, if you wish to restore only certain subitems, you will be able to do so from Trash. Once restored, a subitem will be converted to an item.
📌 NOTE: Subitems don’t count against the total folder item number or board item number. The number you see next to your folders, subfolders and on your boards from the dashboard will still show only the parent items.
Quick Search
This feature is available in the Table, Columns, and Files views below.


