Boards
Subboards
A workspace consists of boards that indicate the modules of the management system or framework that you need to have. For example, the Human Resource Management module is used to manage all the activities and records related to human resources, such as hiring, onboarding, training, performance review, offboarding, etc. On each board, the board title, number of members, and number of items created on that board are visible.
📌 NOTE: Depending on your role and permission level, the boards in your account are not necessarily similar to others, as you can see only the boards that are shared with you.

If you click the three-dot symbol in the bottom right corner of the board, you can edit your board, select the board members, manage permissions, rename it, export your board data to CSV, change your board's colour, and duplicate the board (with or without the existing items).
If you decide to create a new board, find the grey rectangular button with a plus sign in your workspace and click on it. The board deletion permission is disabled to prevent unintended deletion of boards, but you can contact us if you want a board deleted.
📌 NOTE: Depending on your role and permission level, some of the features might not be available for your account.

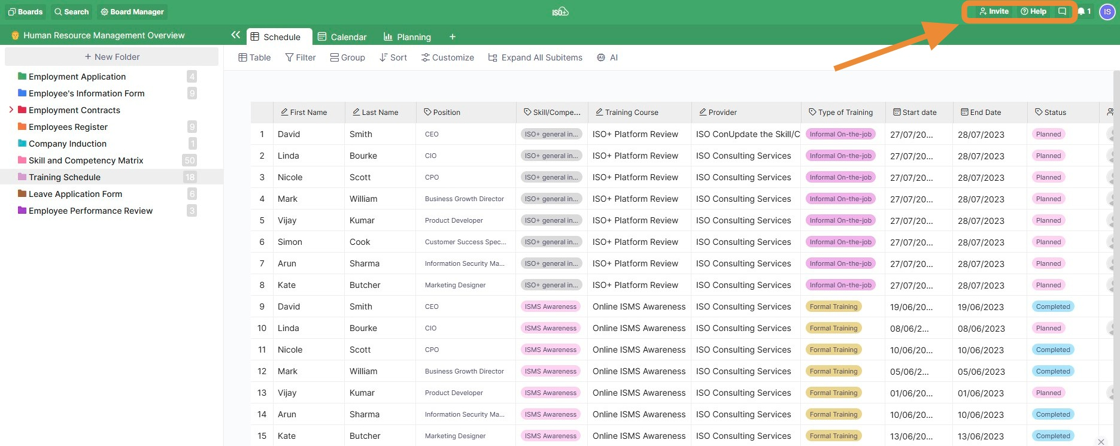
You will see different sections on each board. In the top right corner, you'll see the 'Invite' button. This button allows you to invite new members directly from the board.
The 'Help' button directs you to this Help Centre, where you can find details about ISO+™ and find the answers to your questions.
In the board header in the top left corner, you will find several useful buttons for manipulating and navigating your board. Clicking the 'Board' button will give you a list of all the boards in the workspace. The 'Search' button will help you find any Item from the board in a matter of seconds. The 'Board Manager' button, which we’ll talk about in more detail below.
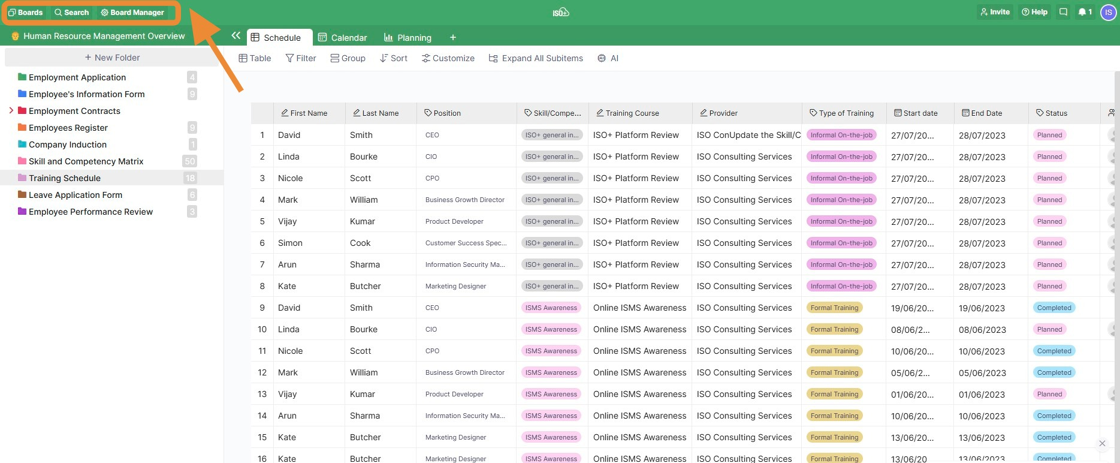
Once you click on the 'Board Manager' button, a pop-up window will open with a number of different options you can explore, depending on your role and permission level.

In the 'Settings' section, you can change your board’s name, add a description, and change its colour.
Under 'Members,' you can view and search for your current board members and workspace members. You can also invite members to a specific board.
Under the 'Role Permission' section, you can customise the permissions for Admin, Full and Restrictive Members.
By clicking on 'Attributes,' you’ll open a section with a list of all the attributes of the specific board. By clicking each attribute, you can rename it (not preferred, as it might disconnect automation and integrations), see the folders of that specific board that this attribute is used in, and also delete it.
By clicking on 'Board Sharing,' you’ll open a section where you can decide whether to share your board with guest collaborators, add password protection, what you want them to be able to do, and how you want to share your board (via a link or embed code).
Enabling the Social Sharing Preview Tag allows social media platforms to generate rich link previews when your content is shared.
You can also upload a featured image for the board you'd like to share.

In the 'Activity Log' section, you can track all the changes made to the board by you or your team members. You can also filter the activity by members or folders.
The 'Trash' section will let you see all the folders, items, and attributes you deleted from your board in one place. This is also where you can restore deleted data to your board.
Finally, the 'Export & Templates' section lets you export a board in CSV format.
📌 NOTE: Depending on your role and permission level, some of the features might not be available for your account.
If you want to leave the board and quickly go back to your dashboard, just click the ISO+™ logo in the centre of the board header.
