Folders
& Subfolders
📌 NOTE: Depending on your role and permission level, this feature might not be available for your account.
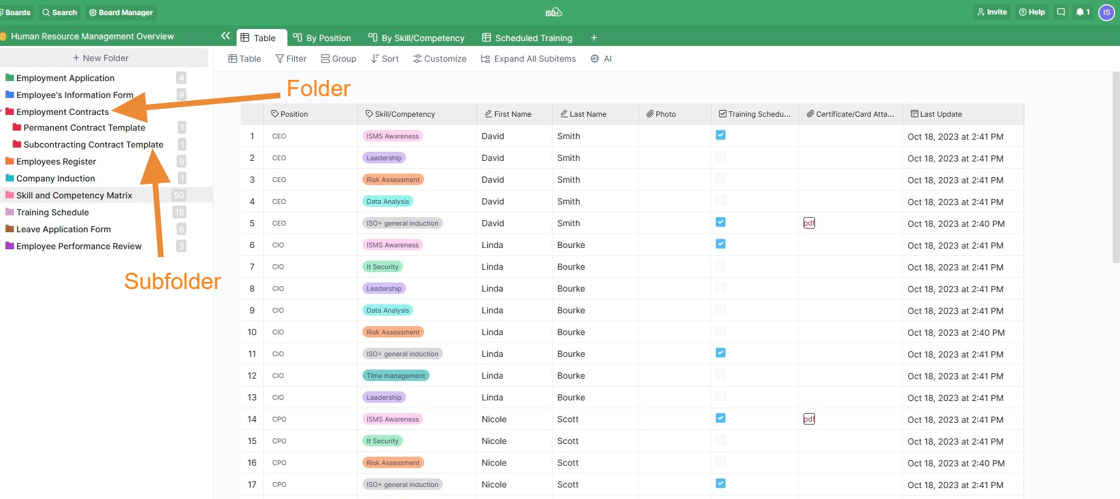
A Board includes Folders, and a Folder can include Subfolders. For example, the Employment Contract folder can include the Permanent Employment subfolder and subcontracting contract subfolders.
You can create as many folders and subfolders as you want within one board to divide your work into sections that make sense for your team.
S
Create Folder
Find and click ' +new Folder ' at the end of the left-hand sidebar, below the Overview button.

To the right of the sidebar, you will choose the view for your folder: Table, Columns, Document, Form, Calendar, List, Gantt, Chart and Files.

Create Subfolder
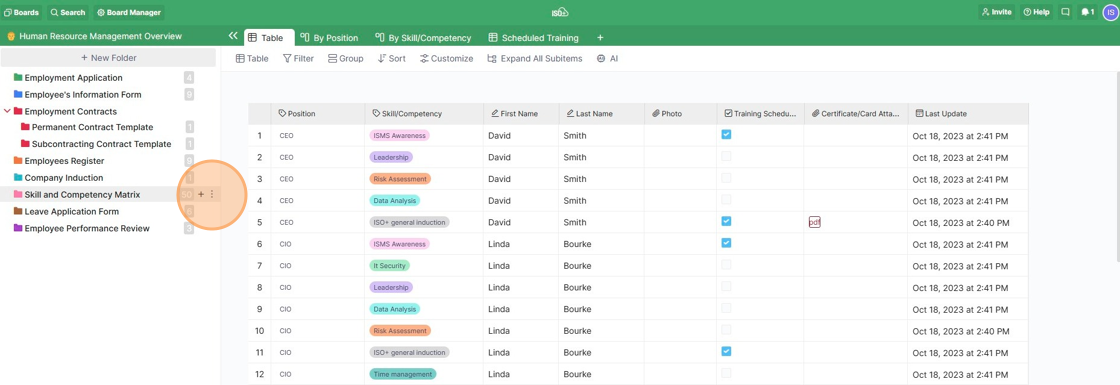
1. Hover over the folder you want to subdivide.
2. Find and click the plus sign that will appear next to the folder.
3. Follow the same principle as when creating a new folder.
4. Create more subfolders by following the same principle.


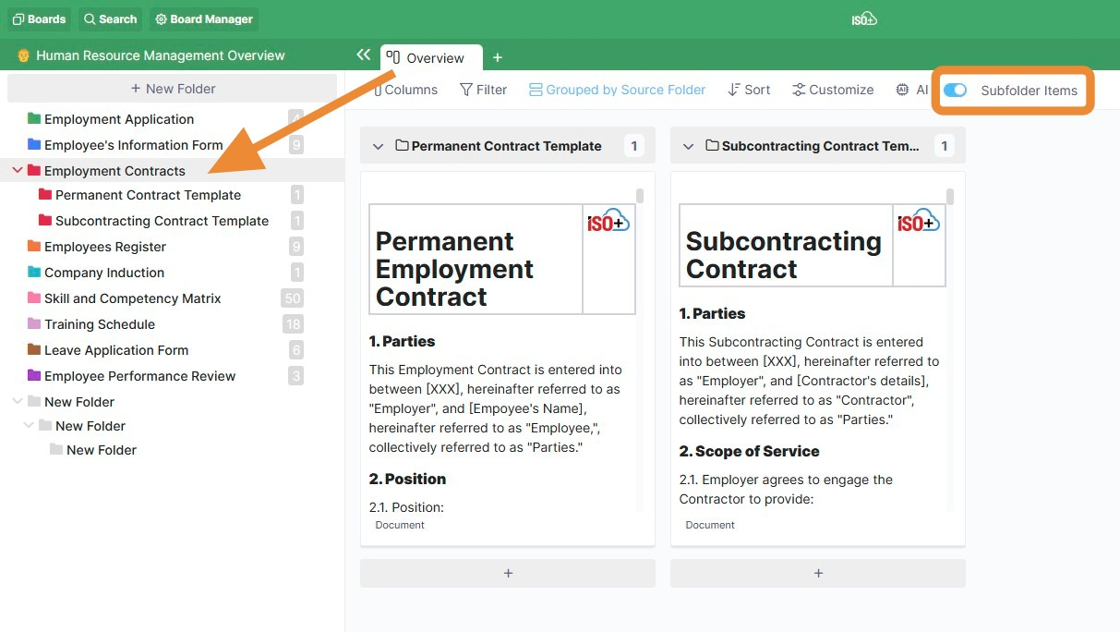
Whenever you create subfolders in ISO+™, your main folders will become Parent Folders, and the first tab in that folder will turn into an overview of all the items in your subfolders. The subfolders are shown in the parent folders if you toggle the 'Subfolder Items' option to 'On'.
Navigate the Folders
All your folders will always be in the left-hand sidebar, so it will be easy to overview them at any point.
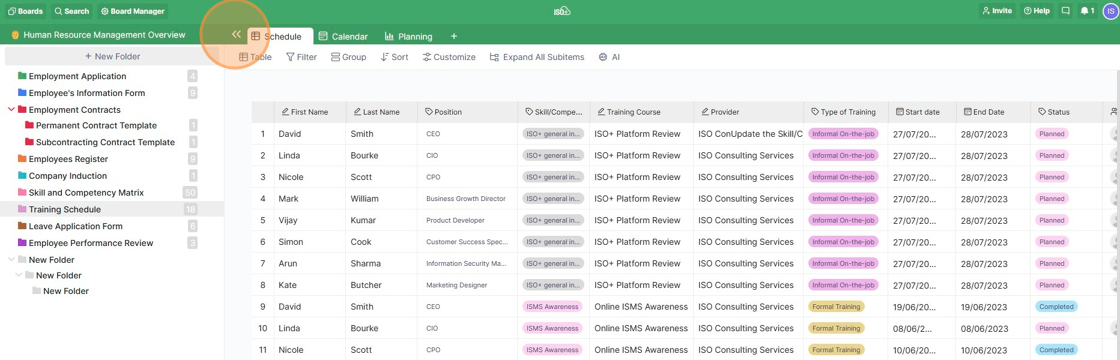
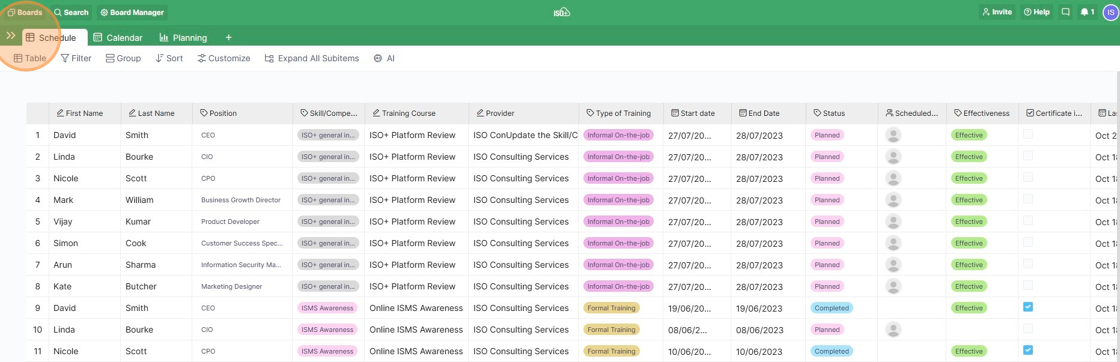
However, if you want a cleaner interface and a better view of the items, you can hide the folders by clicking the collapse icon next to the first tab. Clicking the same icon again will bring the folders back.
If you wish to change the order of the folders, you can do it easily by dragging and dropping. You can just click the folder you want to move and drag it to its new place.
Change the names of your folders by clicking on a folder and typing in the new name.
Folder Settings
If you click the three-dot symbol on the right of your folder, you will notice a couple of other options for managing your folders.
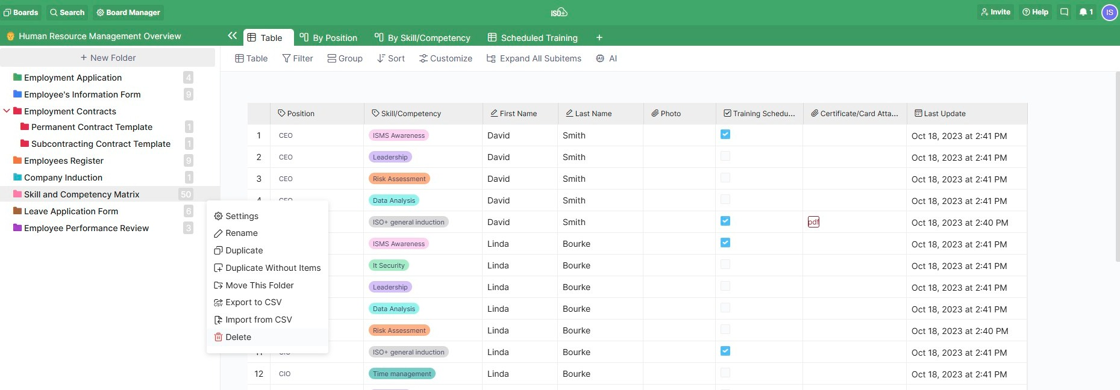
In the folder 'settings', you can rename the folder, change its colour, see the folder's attributes, add a new attribute, and download the content of the folder/subfolder as a CSV file or Import data from a CSV file to the folder/subfolder.

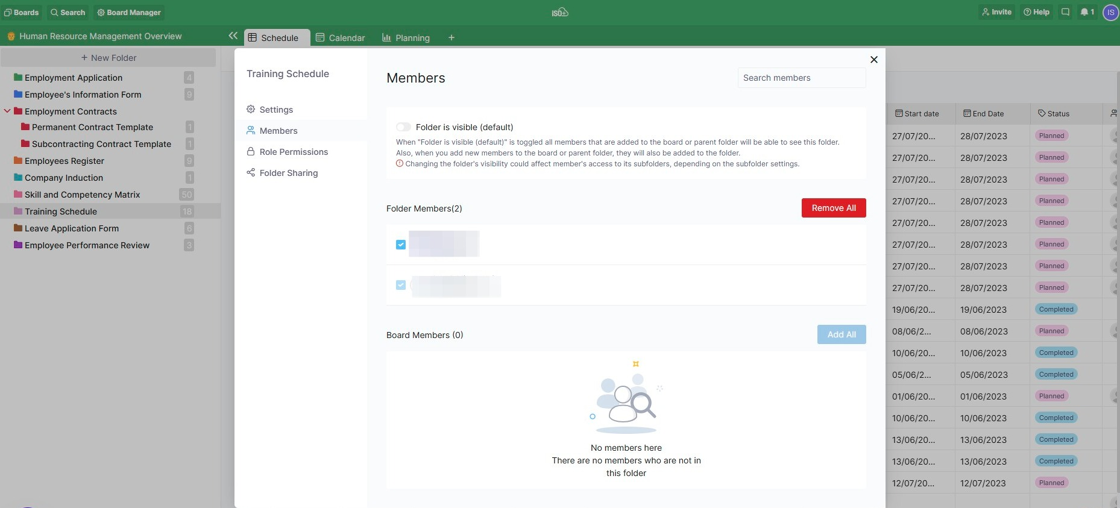
In the 'Members' section, you’ll be able to see and search for your current folder members as well as board members. If your folder is visible, all the board members can access it. However, by checking the checkboxes on or off, you will be able to remove members from the folder or add new members to the folder.
Aside from that, if you click each folder member, you will open and manage their individual permissions on that specific folder.
When you toggle "Folder is visible (default)" on, all members added to the board or parent folder will be able to see this folder.
Also, when you add new members to the board or parent folder, they will also be added to the folder.
If you toggle "Folder is hidden" on, only members who were added to this folder will be able to see it. When you add new members to the board or the parent folder, they will not be added to hidden folders; however, the members who had access to the folder before hiding it will still see the folder. In this case, their access to the folder should be revoked manually through the following steps:
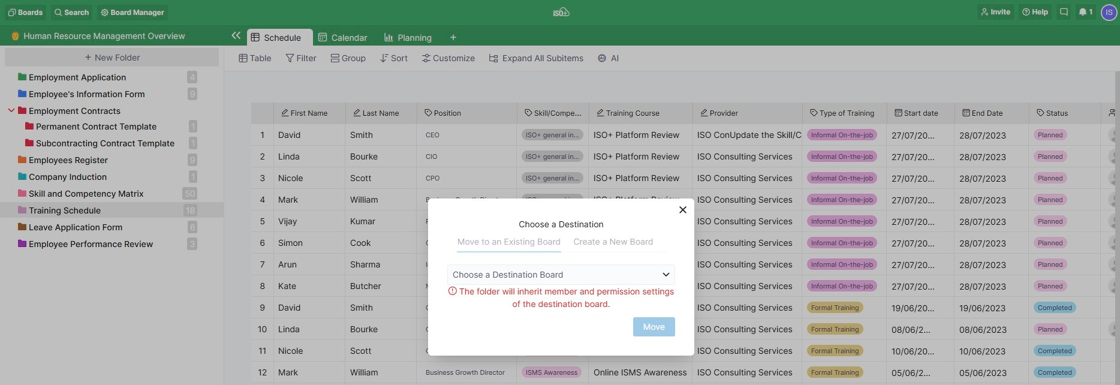
1. Click the three-dot icon on the right side of the folder
2. Select "Settings"
3. Select the "Members" tab
4. Uncheck the members.

Keep in mind that hiding a folder will also limit member access to the folder's subfolders.
📌 NOTE: A user must be a member of the parent folder to access its subfolders.
Keep in mind that if you hide a folder that is used as a Destination Folder in a Reference Attribute, the content of the hidden folder is not visible to the user who wants to assign a value to the Reference Attribute.
So, as the use case scenario, the "Reference Data" folders in the ISO+™ modules should be kept visible as their contents are referred to in other folders of that board, but non-editable for the full or restricted members. In this case, you can keep the "Folder is visible (default)", but limit editing through the Role Permissions feature, listed below:
1. Click the three-dot icon on the right side of the folder
2. Select "Settings"
3. Select the "Role Permissions" tab
4. Choose the Type of Member (e.g. Full Member or Restricted Member)
4. Uncheck the first six permissions.

📌 NOTE: These permissions are limited only to that folder, but not all other board folders.
The 'Role Permissions' section allows you to change and update folder permissions based on different roles (Admin, Full member, and Restricted member). When you click on each role, you can quickly scan which people have which role assigned to them.
If you want to share a folder with people outside of ISO+™, you'll need to go to that folder's settings and click "Folder Sharing".
In order to share folders, you'll first need to make your board public. By default, all folders will be public when you make a board public.
When "Folder is public" is toggled on, users who are not members of this board will be able to see it. When "Folder is private" is toggled on, users who are not members of this board will not be able to see it.
In case you want to share only a certain folder with guest users, you'll need to toggle on "Folder is private" and/or "Folder is hidden" in the Members section for the rest of the folders in the board.
When you hide or set a folder to private, guests will only have access to the one folder you sent them.
When you hide a folder or set it to private, it will get a crossed-out eye next to it.
In Folder Sharing, you also decide what your guest users can do (create and edit items, post comments, etc.), copy the link, and send it to the people who need to see it.
📌NOTE: You can’t share a subfolder on its own; you must make its parent folder public. If a parent folder is private or hidden, the subfolder will be, too.